DIVA - Photography Wordpress Theme
Welcome!
First of all, thank you for purchasing our theme, you are the best! :)
We hope that you will find all information you need under this documentation. If you have any problems/bugs with the theme, and you can't find anything on the docs, please open a ticket on Ticksy Panel.
If your problem/need is found in the docs, you will be redirected to it.
* Please check the online documentation here : Online Docs - the online version could have new videos/documentation than the one from your files.
** Don't forget to rate our theme on ThemeForest with 5* to support our work and future updates. This will help us very much!
*** Also, please subscribe to our newsletter to receive free updates of our products, video tutorials on how to use our themes and news about our latest products.
We'll send you just about 1 or maximum 2 emails per month, so don't worry.
Subscribe Here: http://eepurl.com/PMMIH
Requirements
- Wordpress 3.6 or later;
- PHP 5.3 or later;
Getting Started
Download
If you read this documentation, you probably downloaded the archive already.
Installation
- with Wordpress theme installer;
- by FTP;
with Wordpress theme installer
by FTP
Go to Appearance->Themes from your WP Dashboard and press Add New button.
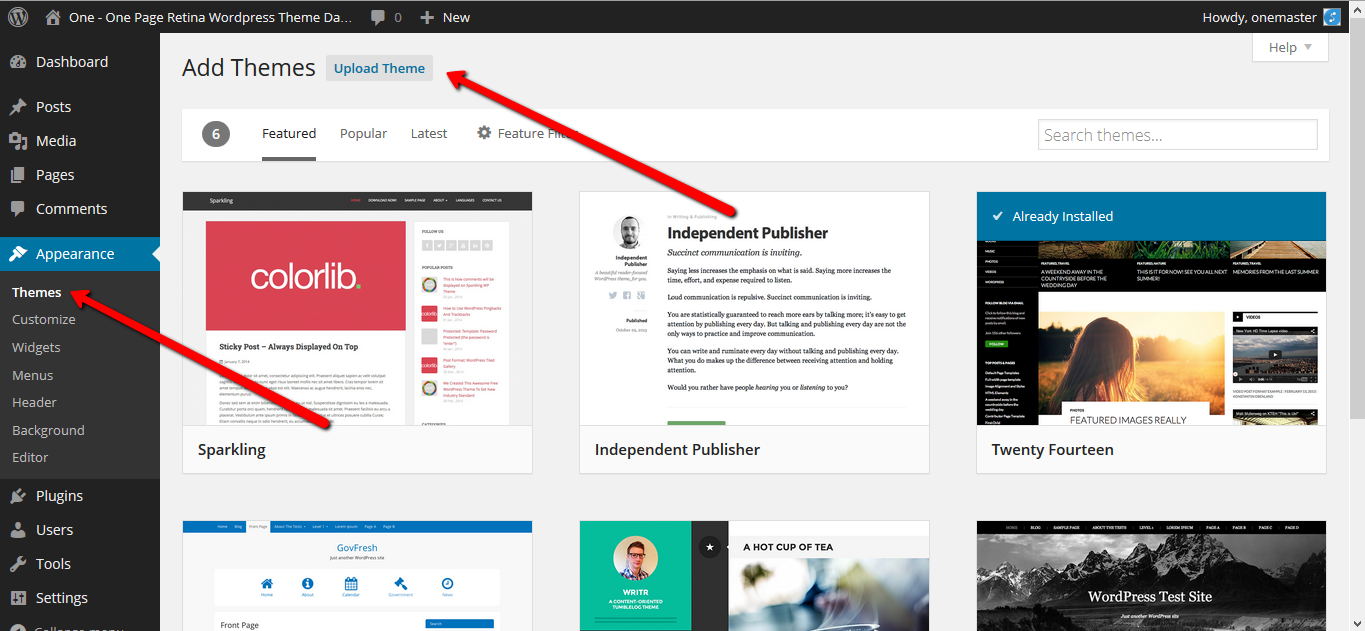
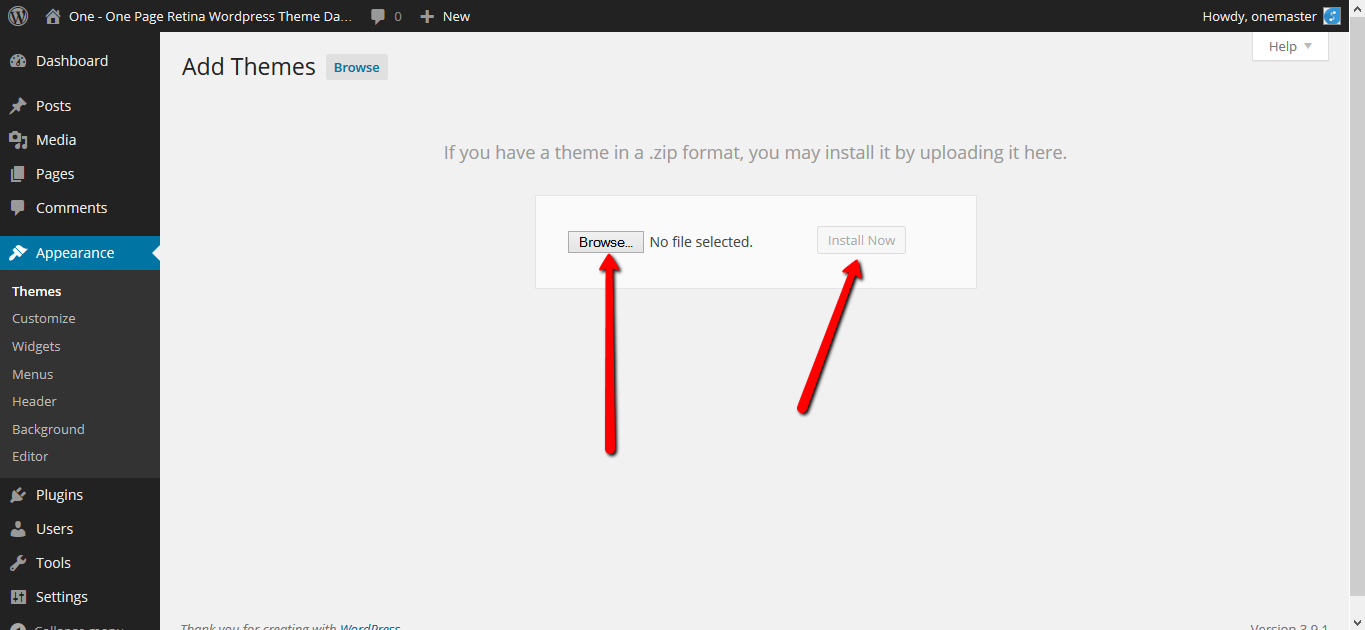
Then go to Upload tab, browse for DIVA .zip archive, select it and hit Install Now. After install is finished, activate the theme.
After you finish the activation of the theme, you will be noticed to install some plugins. Hit Begin installing plugins and install & activate all of them.
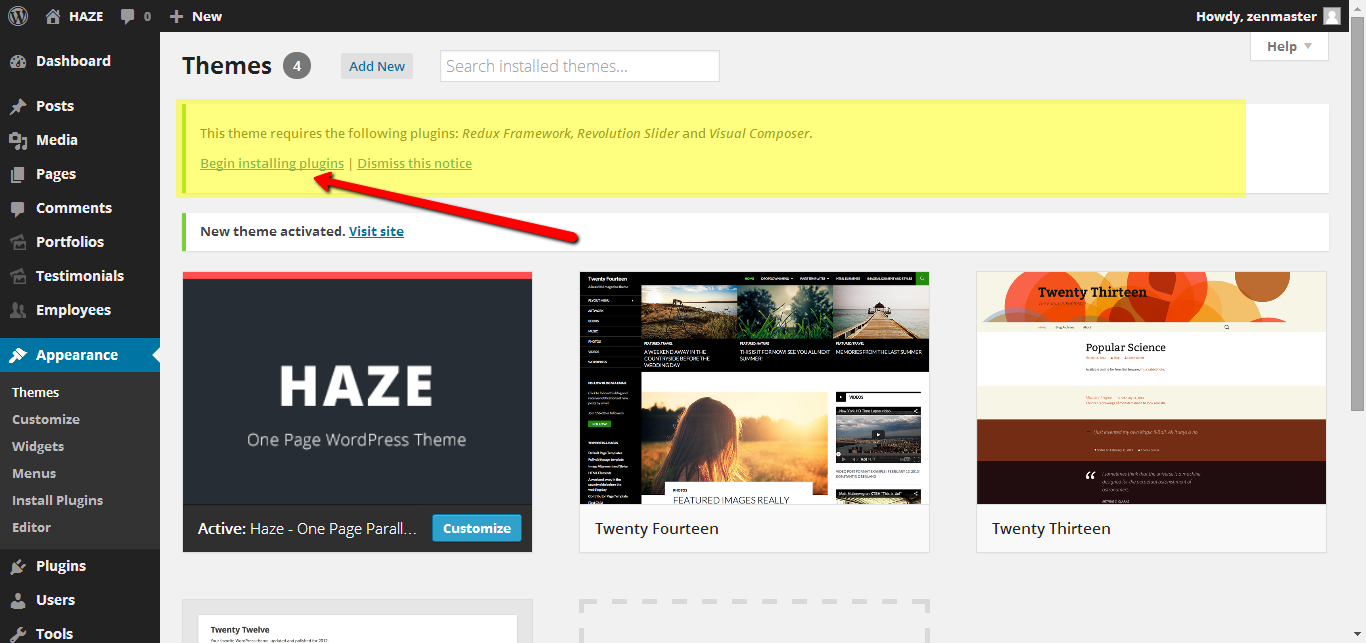
That's it! Now you have the theme installed.
With FTP, the only difference is the uploading system. You have to access with some FTP client your server and the installation of the WP. Then go to wp-content/themes/ and upload the .zip theme. After you finished the uploading, go and unzip it.
After you complete this, you have to go to Appearances->Themes and activate the theme and its plugins.
Theme Options
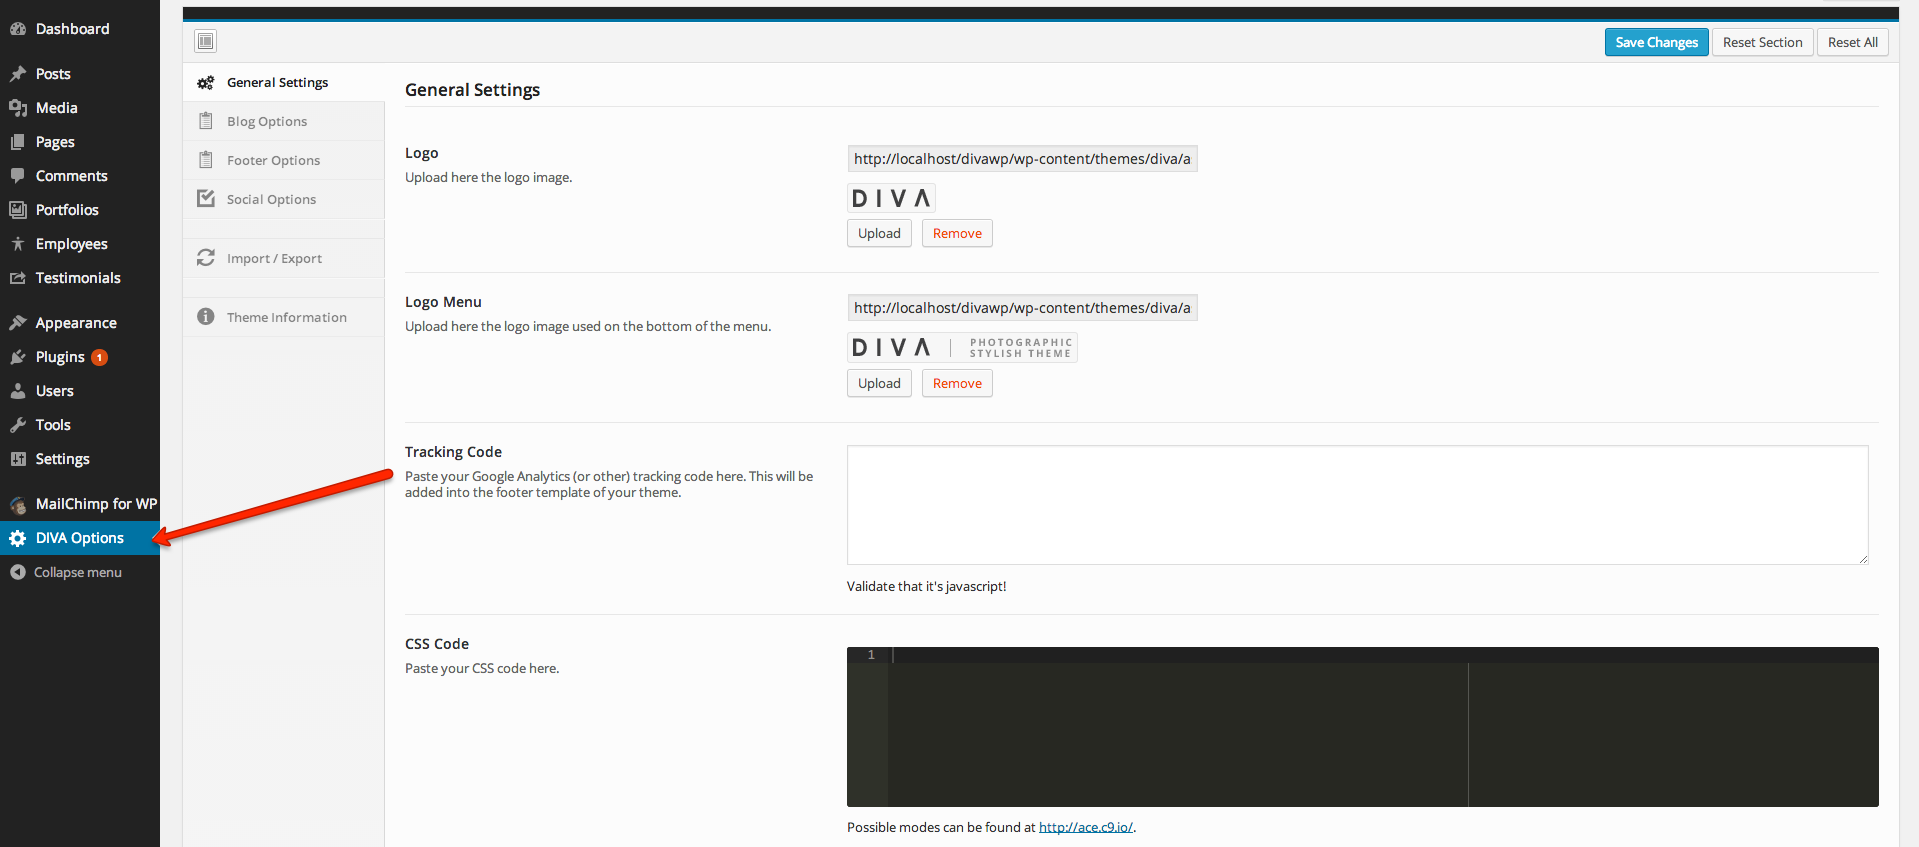
General
| Name | Type | Description |
|---|---|---|
| Logo Small | Image | The small logo you want to display. |
| Logo Big | Image | The big logo you want to display. |
| Tracking code | Javascript | Insert here the google analytics code or other javascript code. |
| CSS code | CSS | Insert here css code. |
Blog Options
| Name | Type | Description |
|---|---|---|
| Blog Author Info | Switch | Enable/Disable the Author info box from the blog single post. |
| Blog Mailchimp Subscribe | Switch | Enable/Disable the Mailchimp Subscribe info box from the blog single post. |
| Subscribe Title | Text | The title for subscribe box. |
| Subscribe Description | Text | The description for the subscribe box. |
Footer
| Name | Type | Description |
|---|---|---|
| Menu Footer Copyright | Text/HTML | The footer left copyright text. |
Contact & Social Integration
| Name | Type | Description |
|---|---|---|
| Add/Remove Social Icons | Text/HTML | Use this box to display the social icons from the header & footer. Use the default shortcodes. |
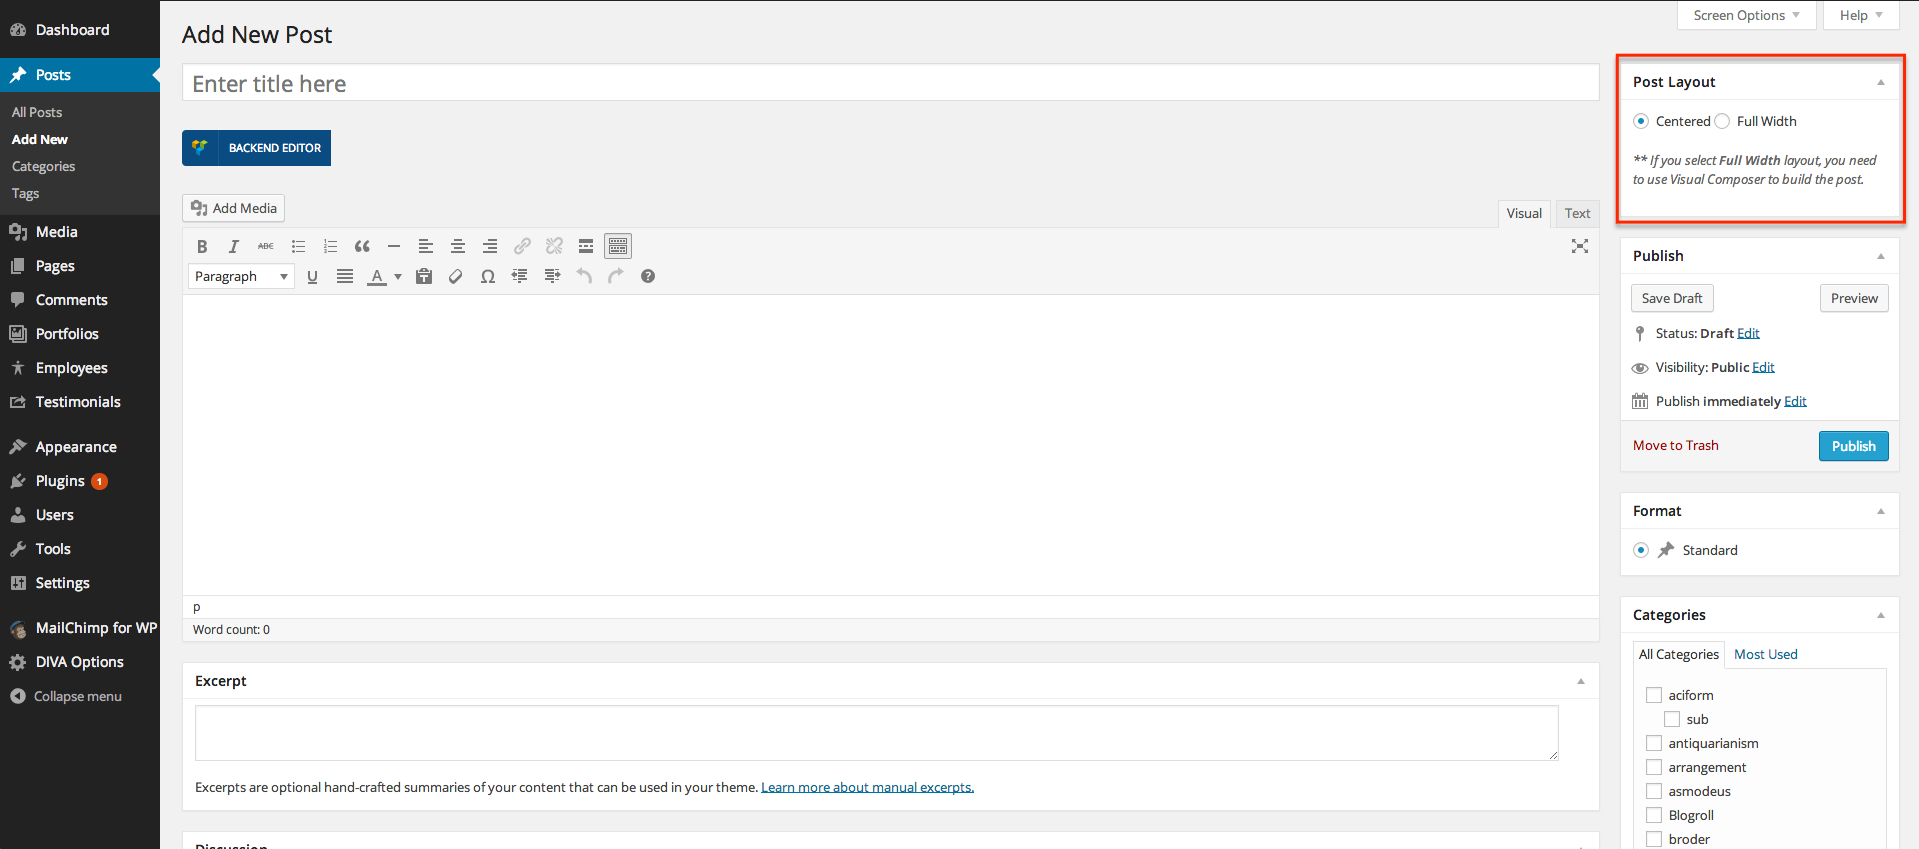
Post Options
Custom Post Types
-
Portfolios
-
Employees
With portfolio you are able to add and present your photography work. There are few settings on the portfolio page :
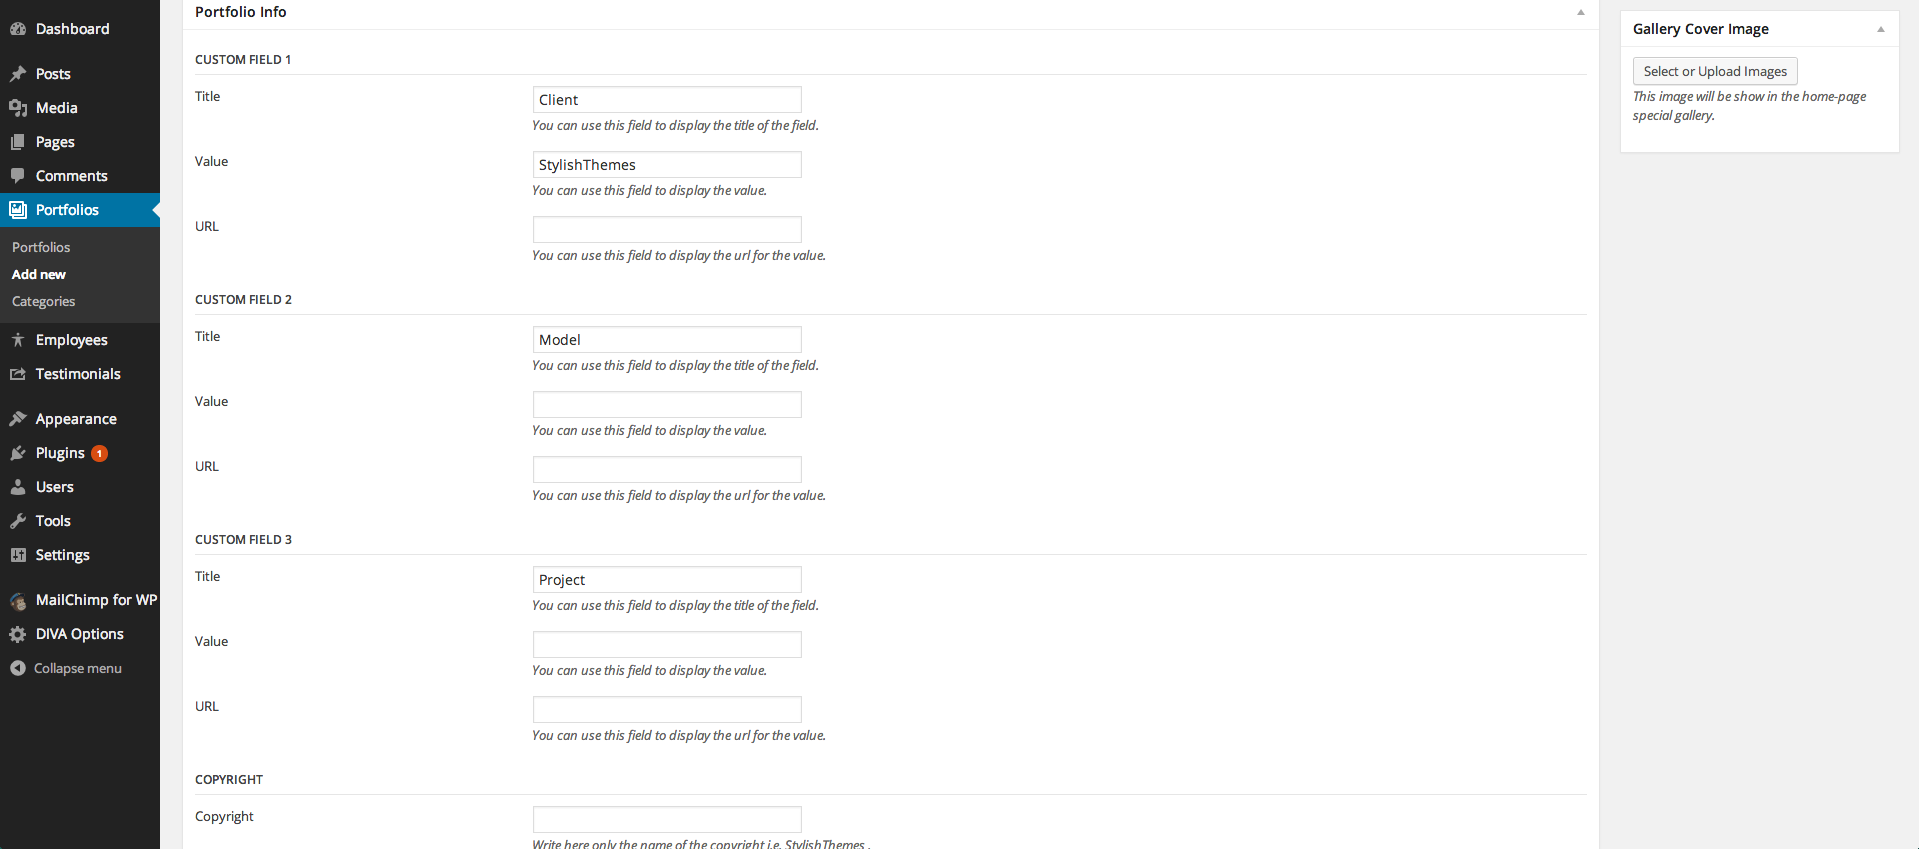
The 'Gallery Cover Image' is used for the DIVA gallery from the front page. If you don't set a cover image, the featured image of the project will be used instead.
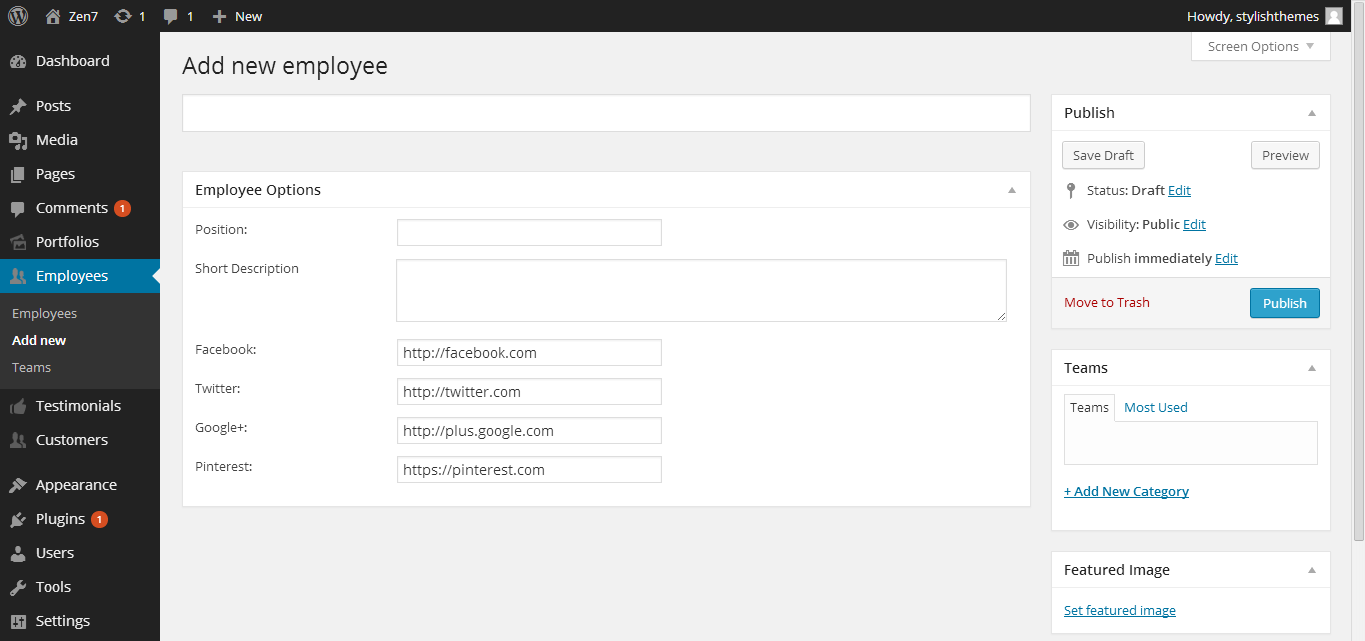
With employees you are able to add your employees/partners and sort them in teams. After this, you can display teams or single employees with Visual Composer in any page or post.
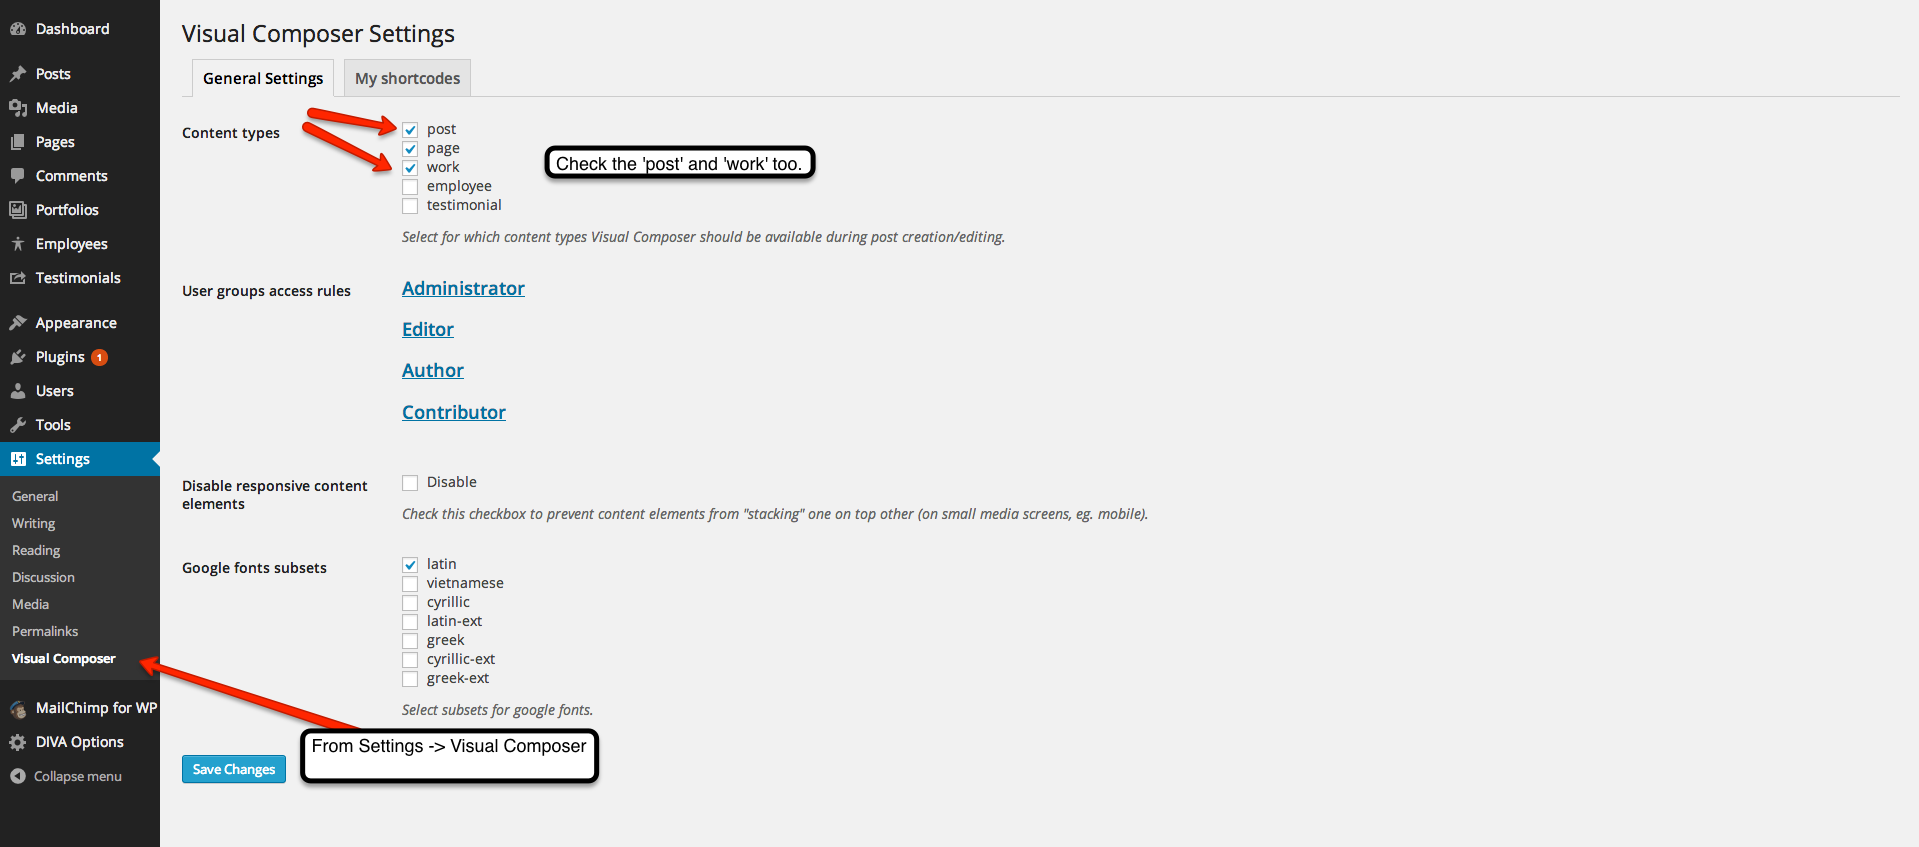
Visual Composer Setup
Mailchimp Setup
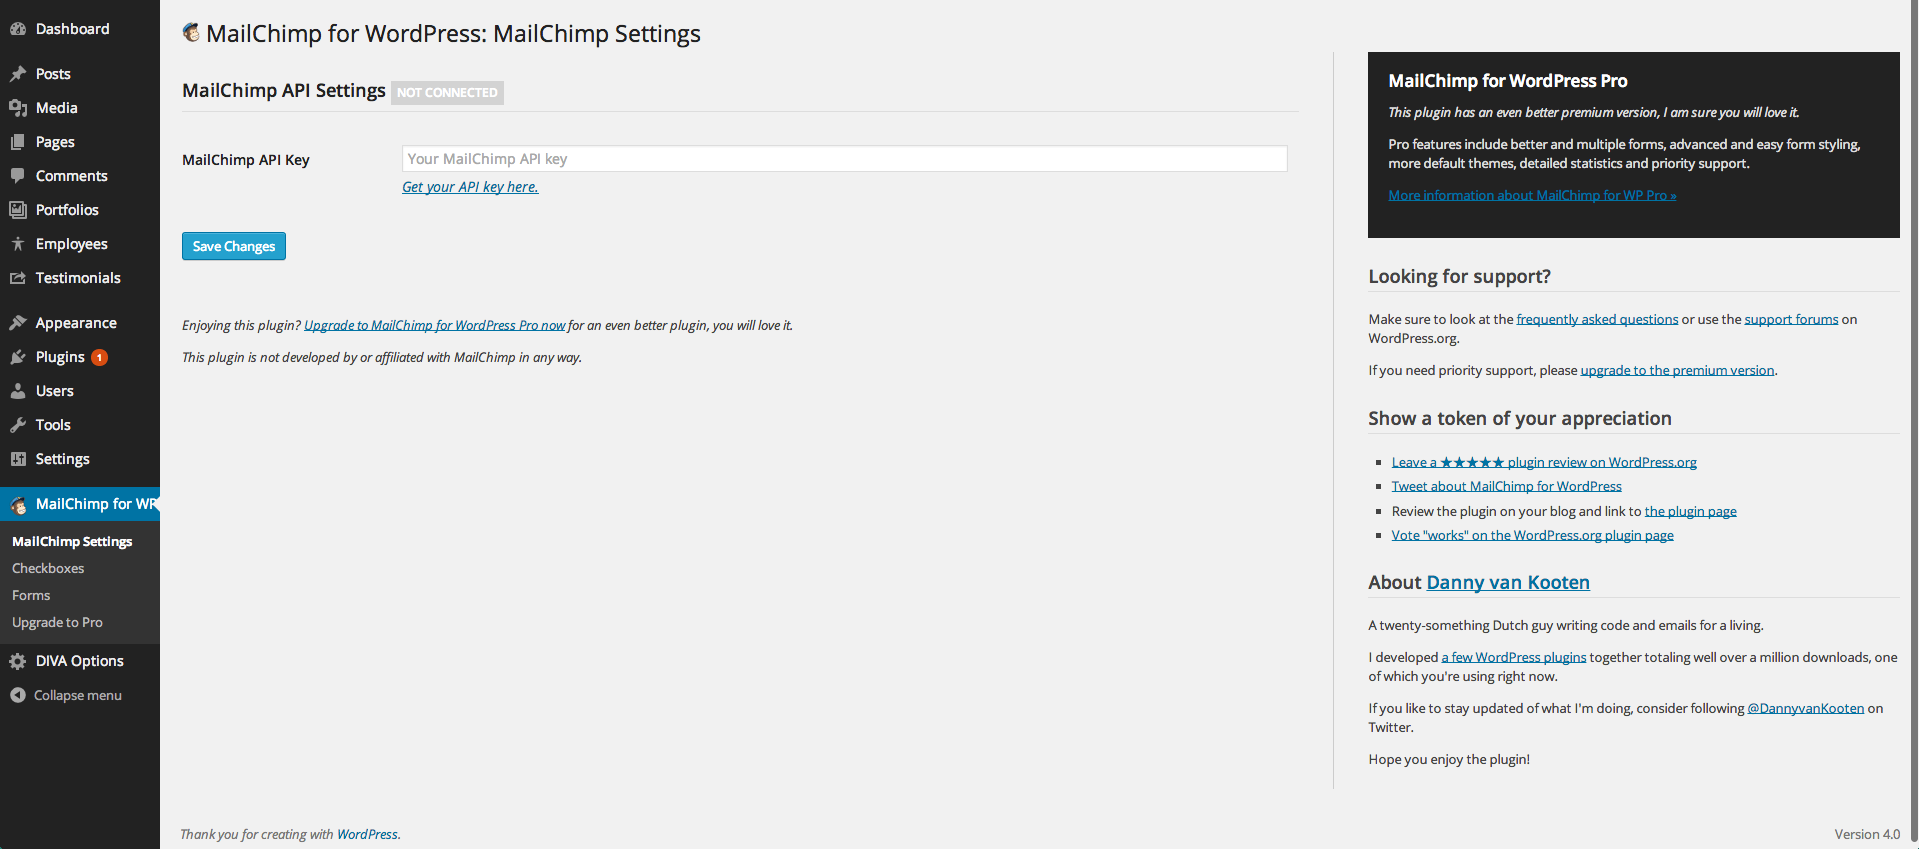
After you've pasted the key, and saved the settings, go to 'Forms' tab. Here you need to select the list you want the box to subscribe to, and also to change some HTML code in the 'Form mark-up' section :
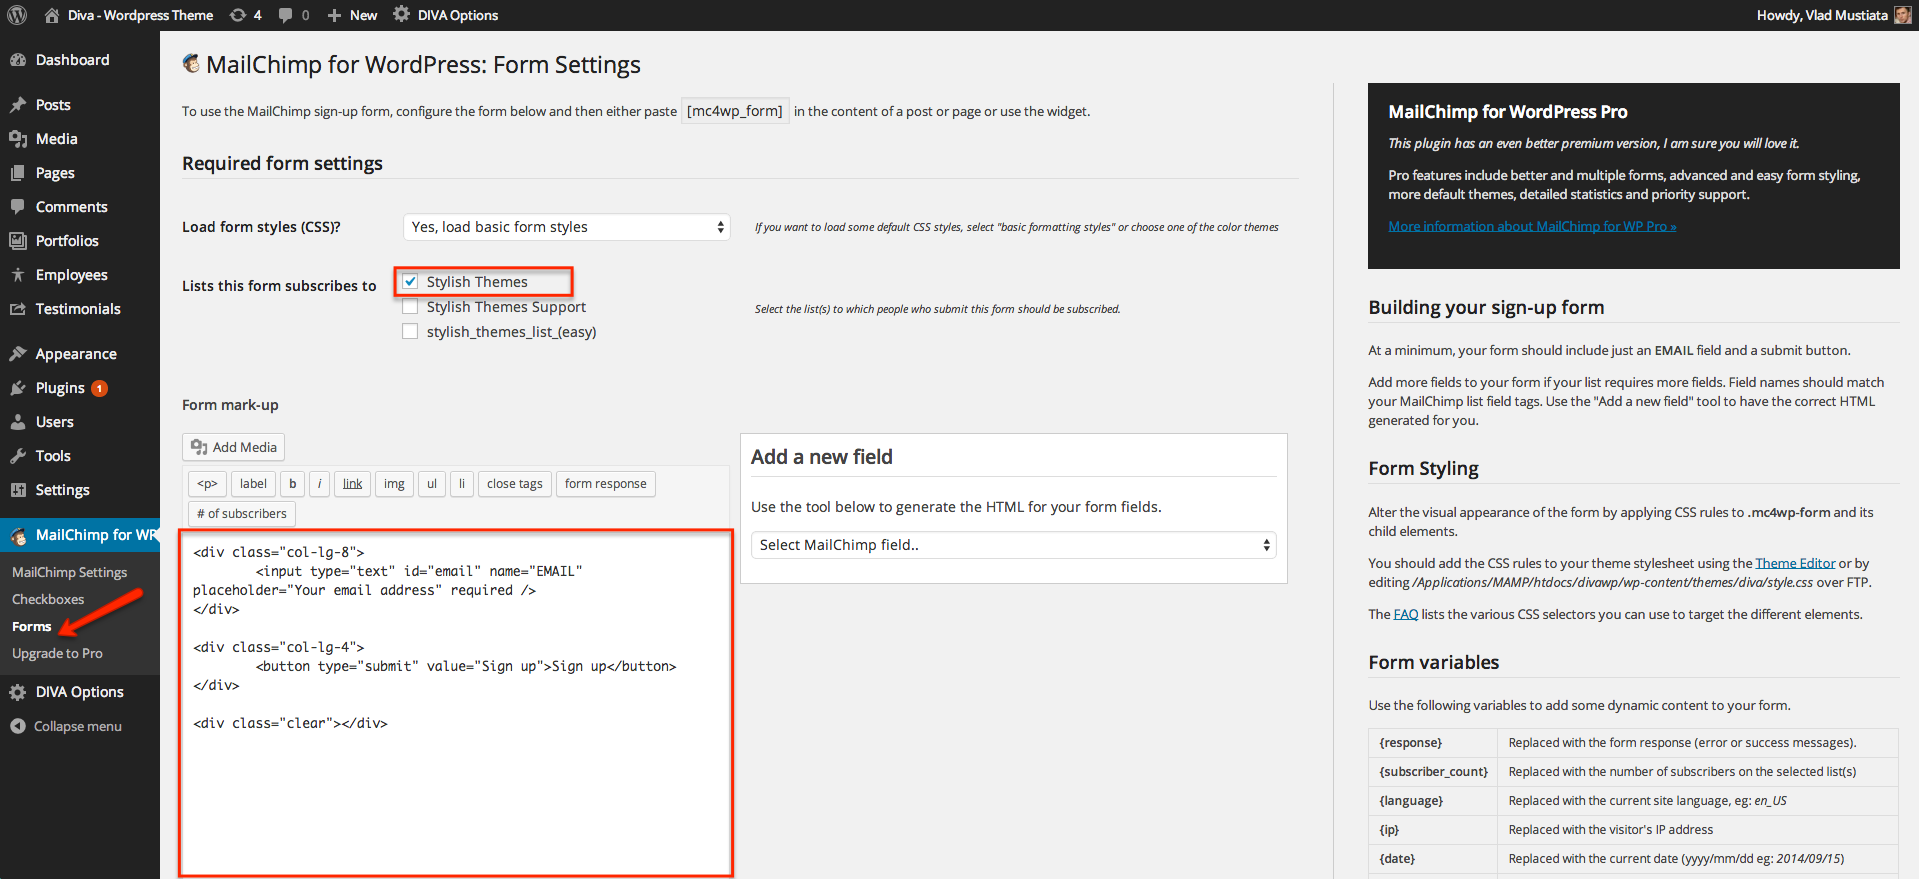
Copy and paste this code :
Icons
Go throw their website and find what icons suits you better. :)
Demo Data
There you have the demo-content of One and also the demo content for the Revolution Slider.
For One, go to Wordpress Dashboard, under the Tools->Import page. There select Wordpress and install the app if you don't have it already.
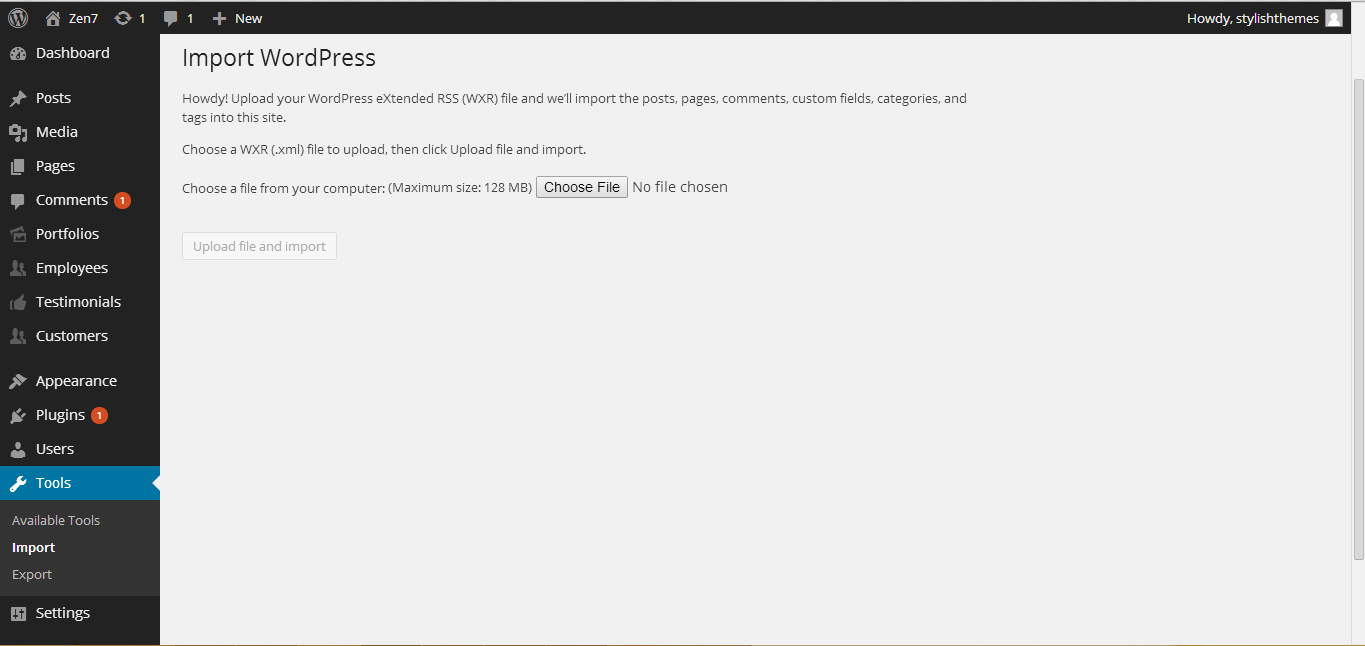
Here, select the .xml file and install the demo data. Now you are done! :)
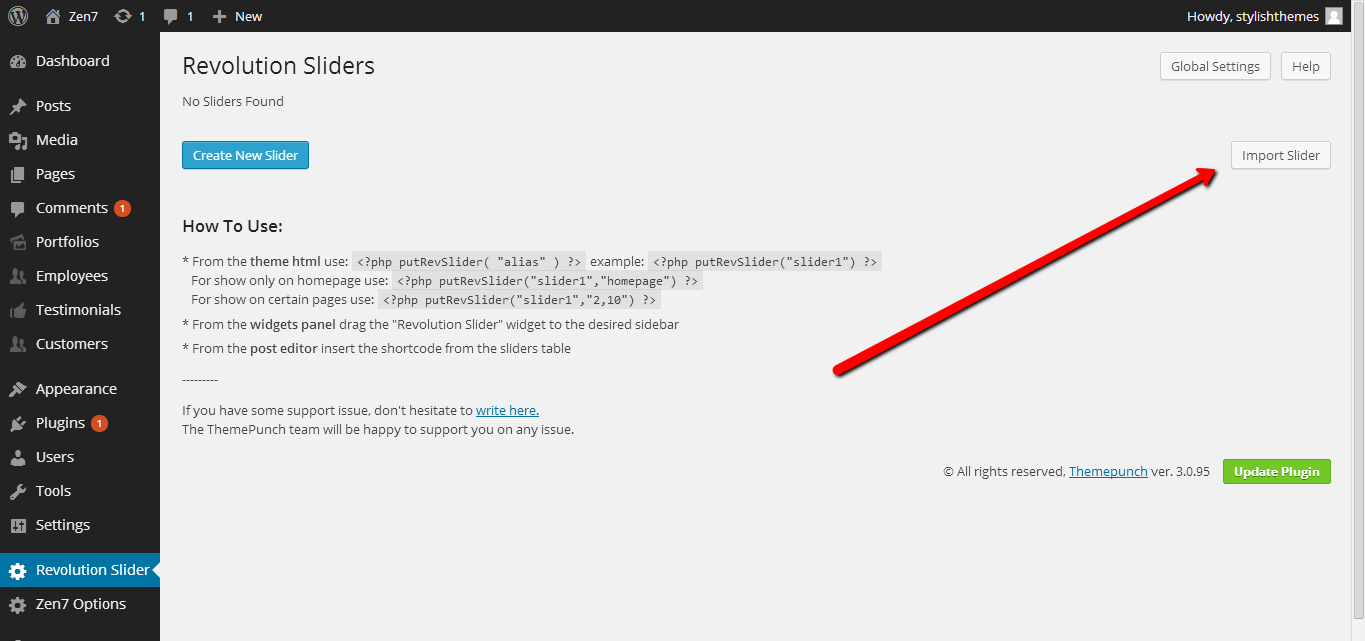
For Revolution Slider, you have to go to its admin panel, and hit Import Slider button.
WPML Support
- Using .mo/.po files
- Translating the theme from within WPML
Our theme provide .mo/.po language files in the /lang folder of the theme and you can use these files on WPML plugin. To use translation from a .mo file, choose the first option from the theme localization menu. The only thing that you need to specify is the text-domain that is 'One' for our theme. You need to enter this value in the text domain field, so that WPML can load the translation file and assign it to the theme.
When WPML localization is selected (the 2nd option in the image above), WPML will scan the theme and find the texts that can be translated. It reports what it finds and let you enter translations, right from within WordPress.
Click on Scan the theme for strings and WPML will go through all the files in the active theme and get translatable texts from them (texts that are wrapped with gettext functions).
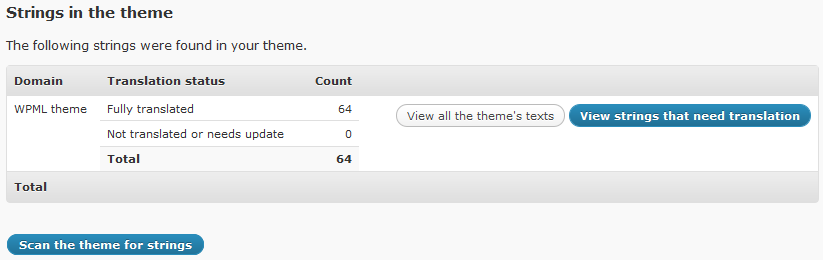
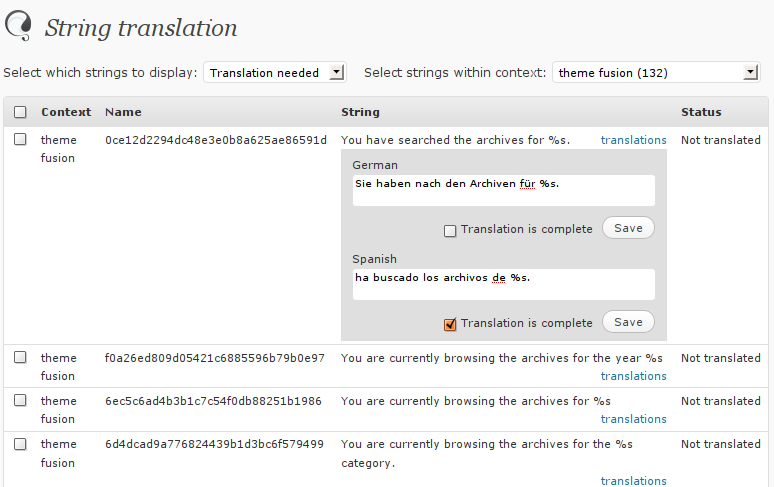
It shows how many strings were found in the theme and their translation status. To translate them, click on View strings that need translation. This will take you to the String translation page, where you can enter translation for each of the texts found in the theme.
Copyright
Copyright © 2014 StylishThemes